
Kitchen Advice
10-25% off
Use Code:
JUNE10 | JUNE15 | JUNE20 | JUNE25
Installing kitchen cabinet doors may seem like a daunting task, but with the right tools and a systematic approach, you can achieve a professional-looking result. Whether you're upgrading your kitchen or customising cabinets, this step-by-step guide will walk you through the process of installing kitchen cabinet doors like a pro.
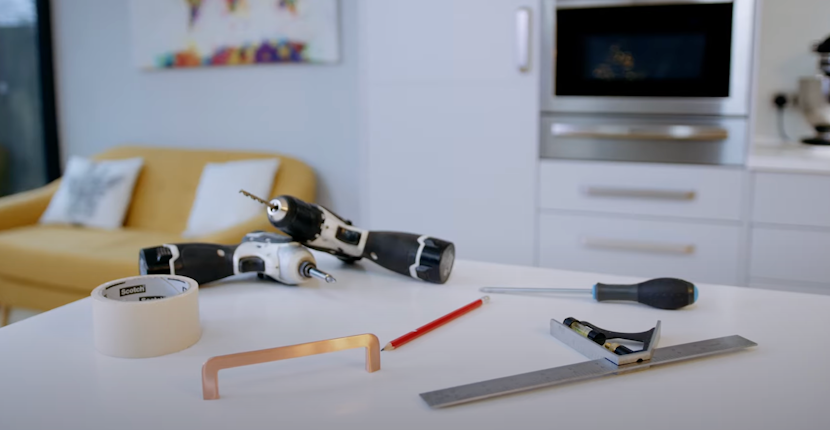
Before you begin, gather the necessary materials and tools to ensure a smooth installation process. You'll need:
If you are replacing old cabinet doors, start by removing the existing ones. Use a screwdriver to detach the hinges from both the doors and the cabinet frame. Keep track of the screws, as you may need them later.
Measure the dimensions of the cabinet opening where the door will be installed. Mark the centre point both vertically and horizontally. This will serve as a reference for aligning the new door.
Place the hinges on the back of the cabinet door, aligning them with the centre marks. Typically, hinges are installed about 2 to 4 inches from the top and bottom of the door. Use a pencil to mark the screw hole locations.
Choose from two easy payment methods which mean you can buy now and pay later.
No interest, no fees.

Using a drill with a screwdriver bit, drill pilot holes for the screws. Ensure that the holes are straight and centred on the markings. This step prevents wood splitting and makes it easier to drive the screws in.
Secure the hinges to the cabinet door using the screws provided. Make sure the hinges are snug and flush with the door surface. Repeat this process for all hinges.
If your hinges come with mounting plates, attach them to the cabinet frame. These plates provide additional stability and flexibility in adjusting the door position. Use a level to ensure the plate is straight.

With the hinges attached to both the door and the mounting plates, hang the door on the cabinet frame. Adjust the hinges as needed to ensure the door is level and aligned with neighbouring doors.
Use a level to make any necessary adjustments to the door's position. Once satisfied with the alignment, secure the hinges tightly to the mounting plates using the provided screws.
If your cabinet doors require knobs or handles, use a mounting template, or measure and mark the desired locations. Drill pilot holes and attach the knobs or handles securely.
Open and close the cabinet doors to ensure smooth operation. Make any final adjustments if necessary.

By following these step-by-step instructions, you can install kitchen cabinet doors with the precision of a professional. Taking your time, measuring accurately, and paying attention to details will result in a polished and functional kitchen cabinet upgrade.
If you’re considering replacing your doors, you can spread your payments with Happy Doors by using Klarna, details of which are on our website. Explore our made to measure replacement kitchen doors today or contact us to discuss your new home project on 01256 845 816 or email us at hello@happy-doors.co.uk .

