Kitchen Advice
5-25% off
Use Code:
SUMMER5 | SUMMER10 | SUMMER15 | SUMMER20 | SUMMER25
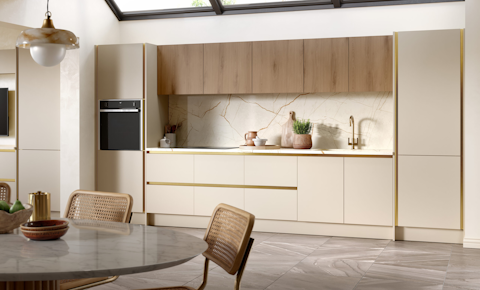
If your kitchen is looking worse for wear, you might be thinking of ways you can update it without having to hire in professionals or spend thousands on a refit. One way this can be achieved is by simply replacing your kitchen cabinet doors with Happy Doors. Once your new replacement doors have been fitted, you may want to add a touch of personality, this can be achieved by adding new handles, and this can be done by yourself - it is easier than you think!
But first, you will need to understand how to accurately install your new cabinet door handles - here's how.
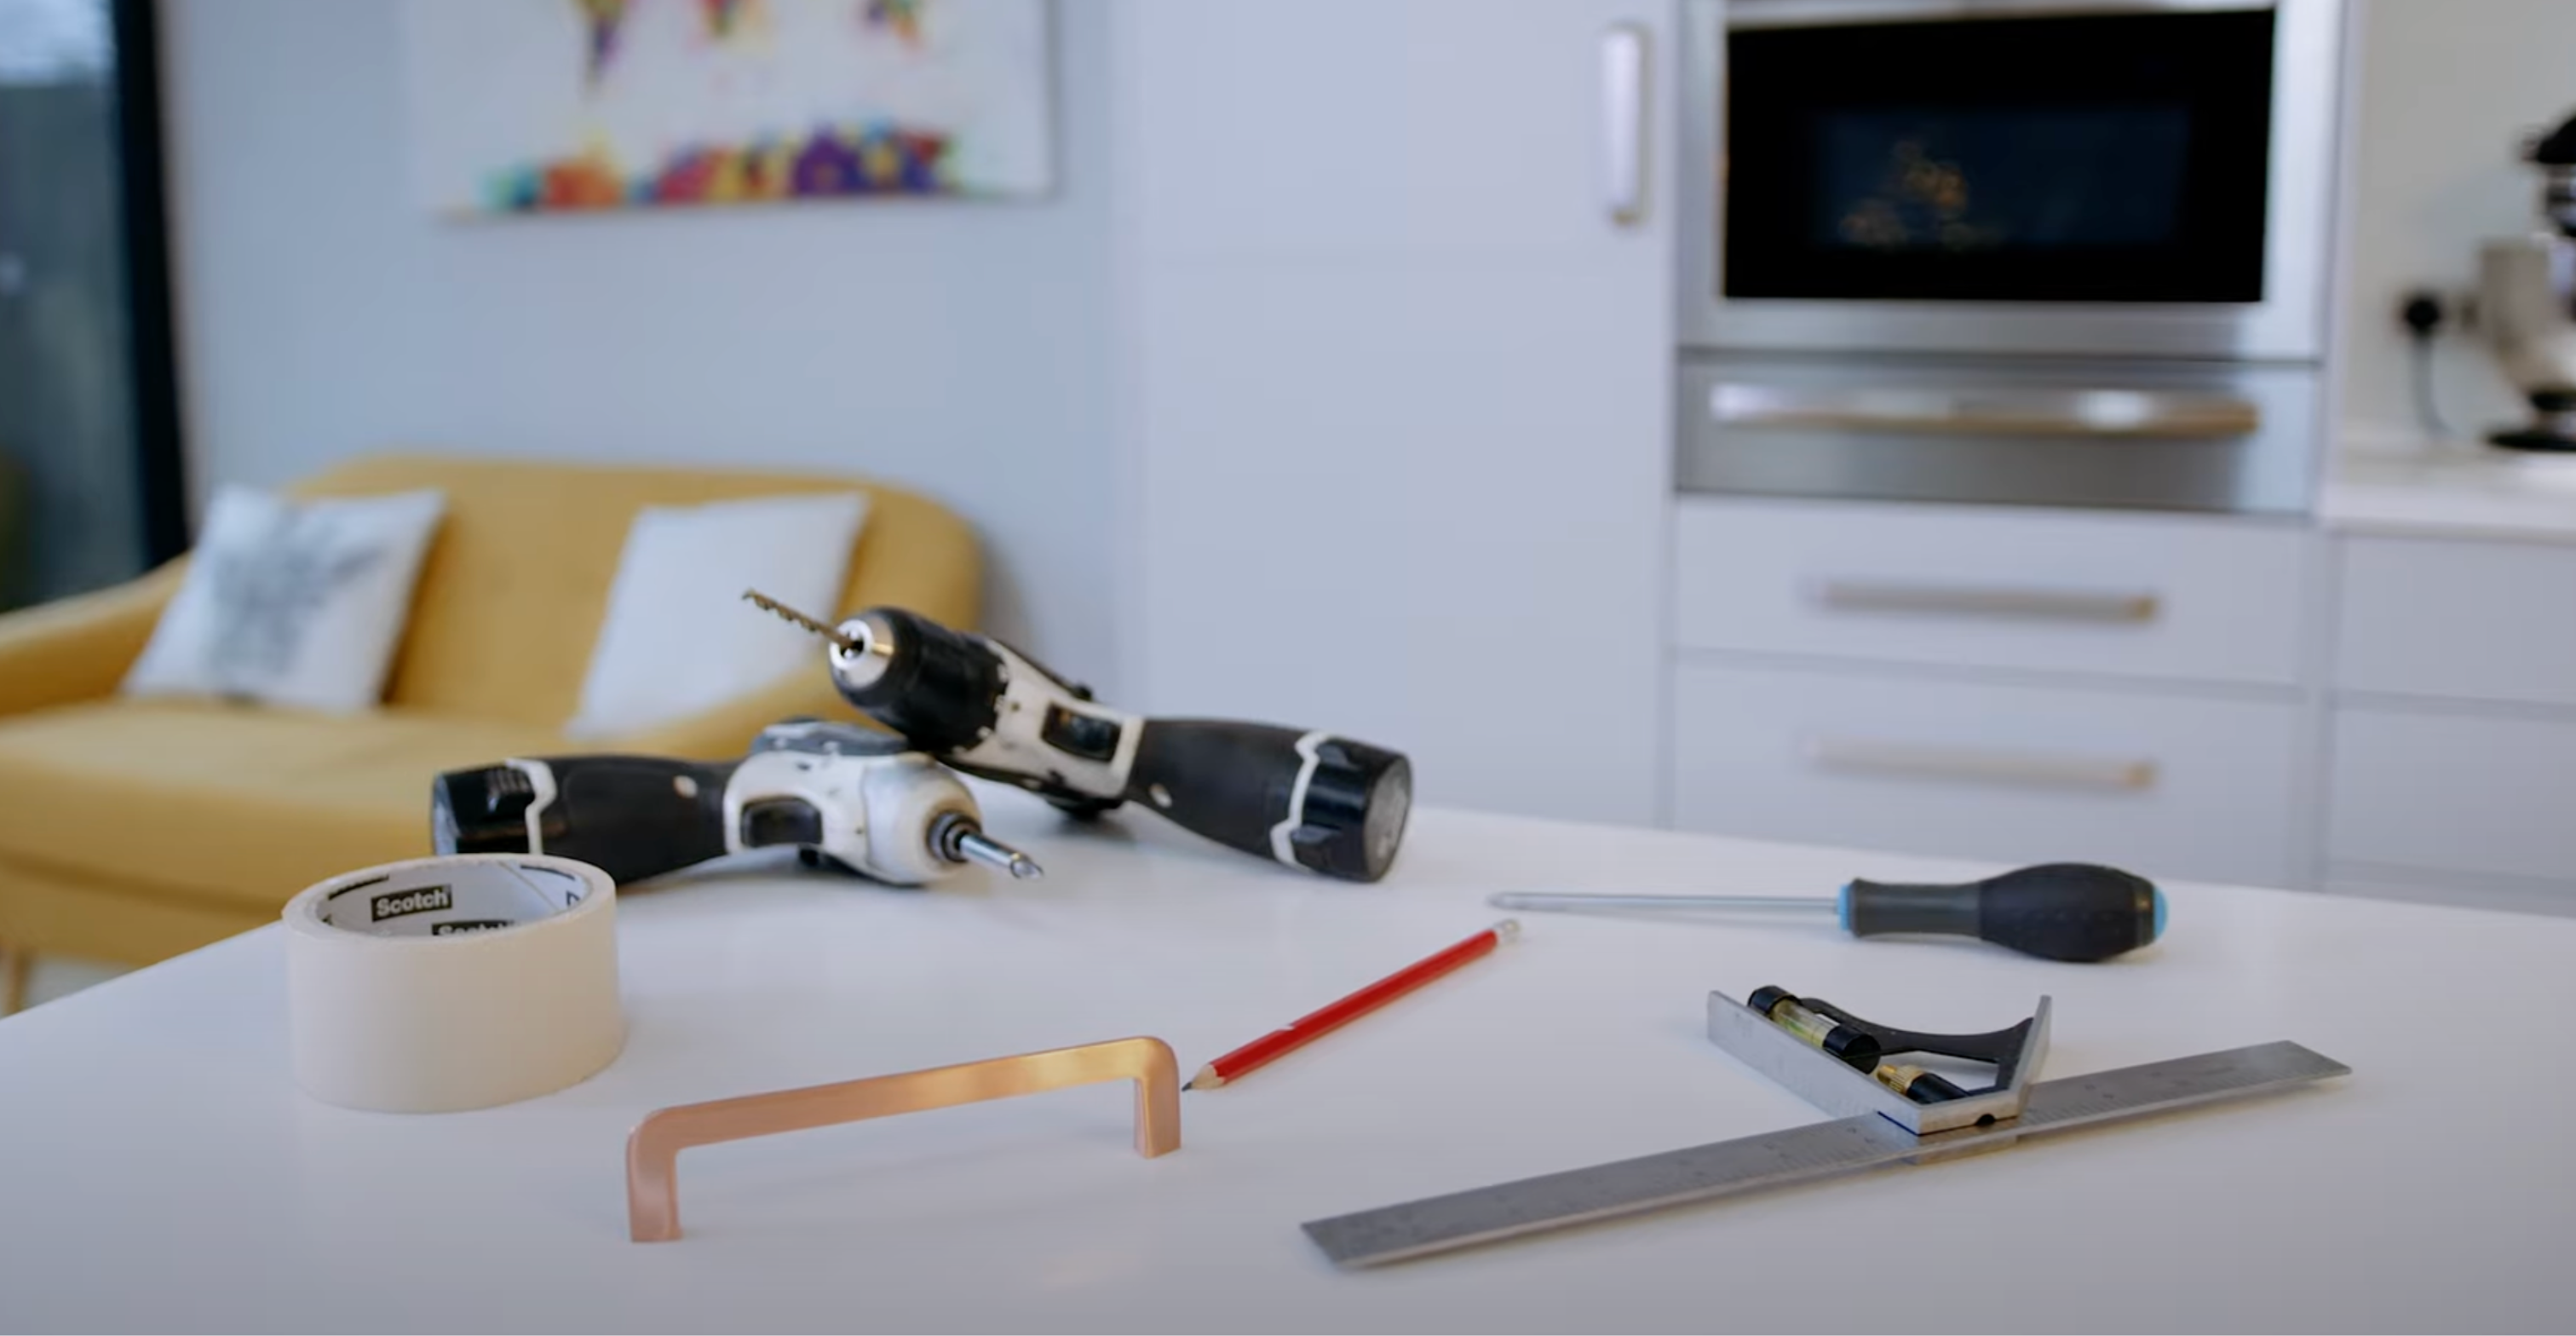
Before you begin, you will need a few things to make the process as simple and accurate as possible. You will need masking tape, a pencil, an adjustable square, a drill, and a screwdriver.
First you will want to start by locating where you want the handles to be. The industry standard is usually about 50mm from the bottom of the door and 50mm from the side of the door.
Once you have located where you want the handles to go, you will need to mark it. This is done by placing masking tape roughly whereabouts the handle will go. This is important for two reasons:
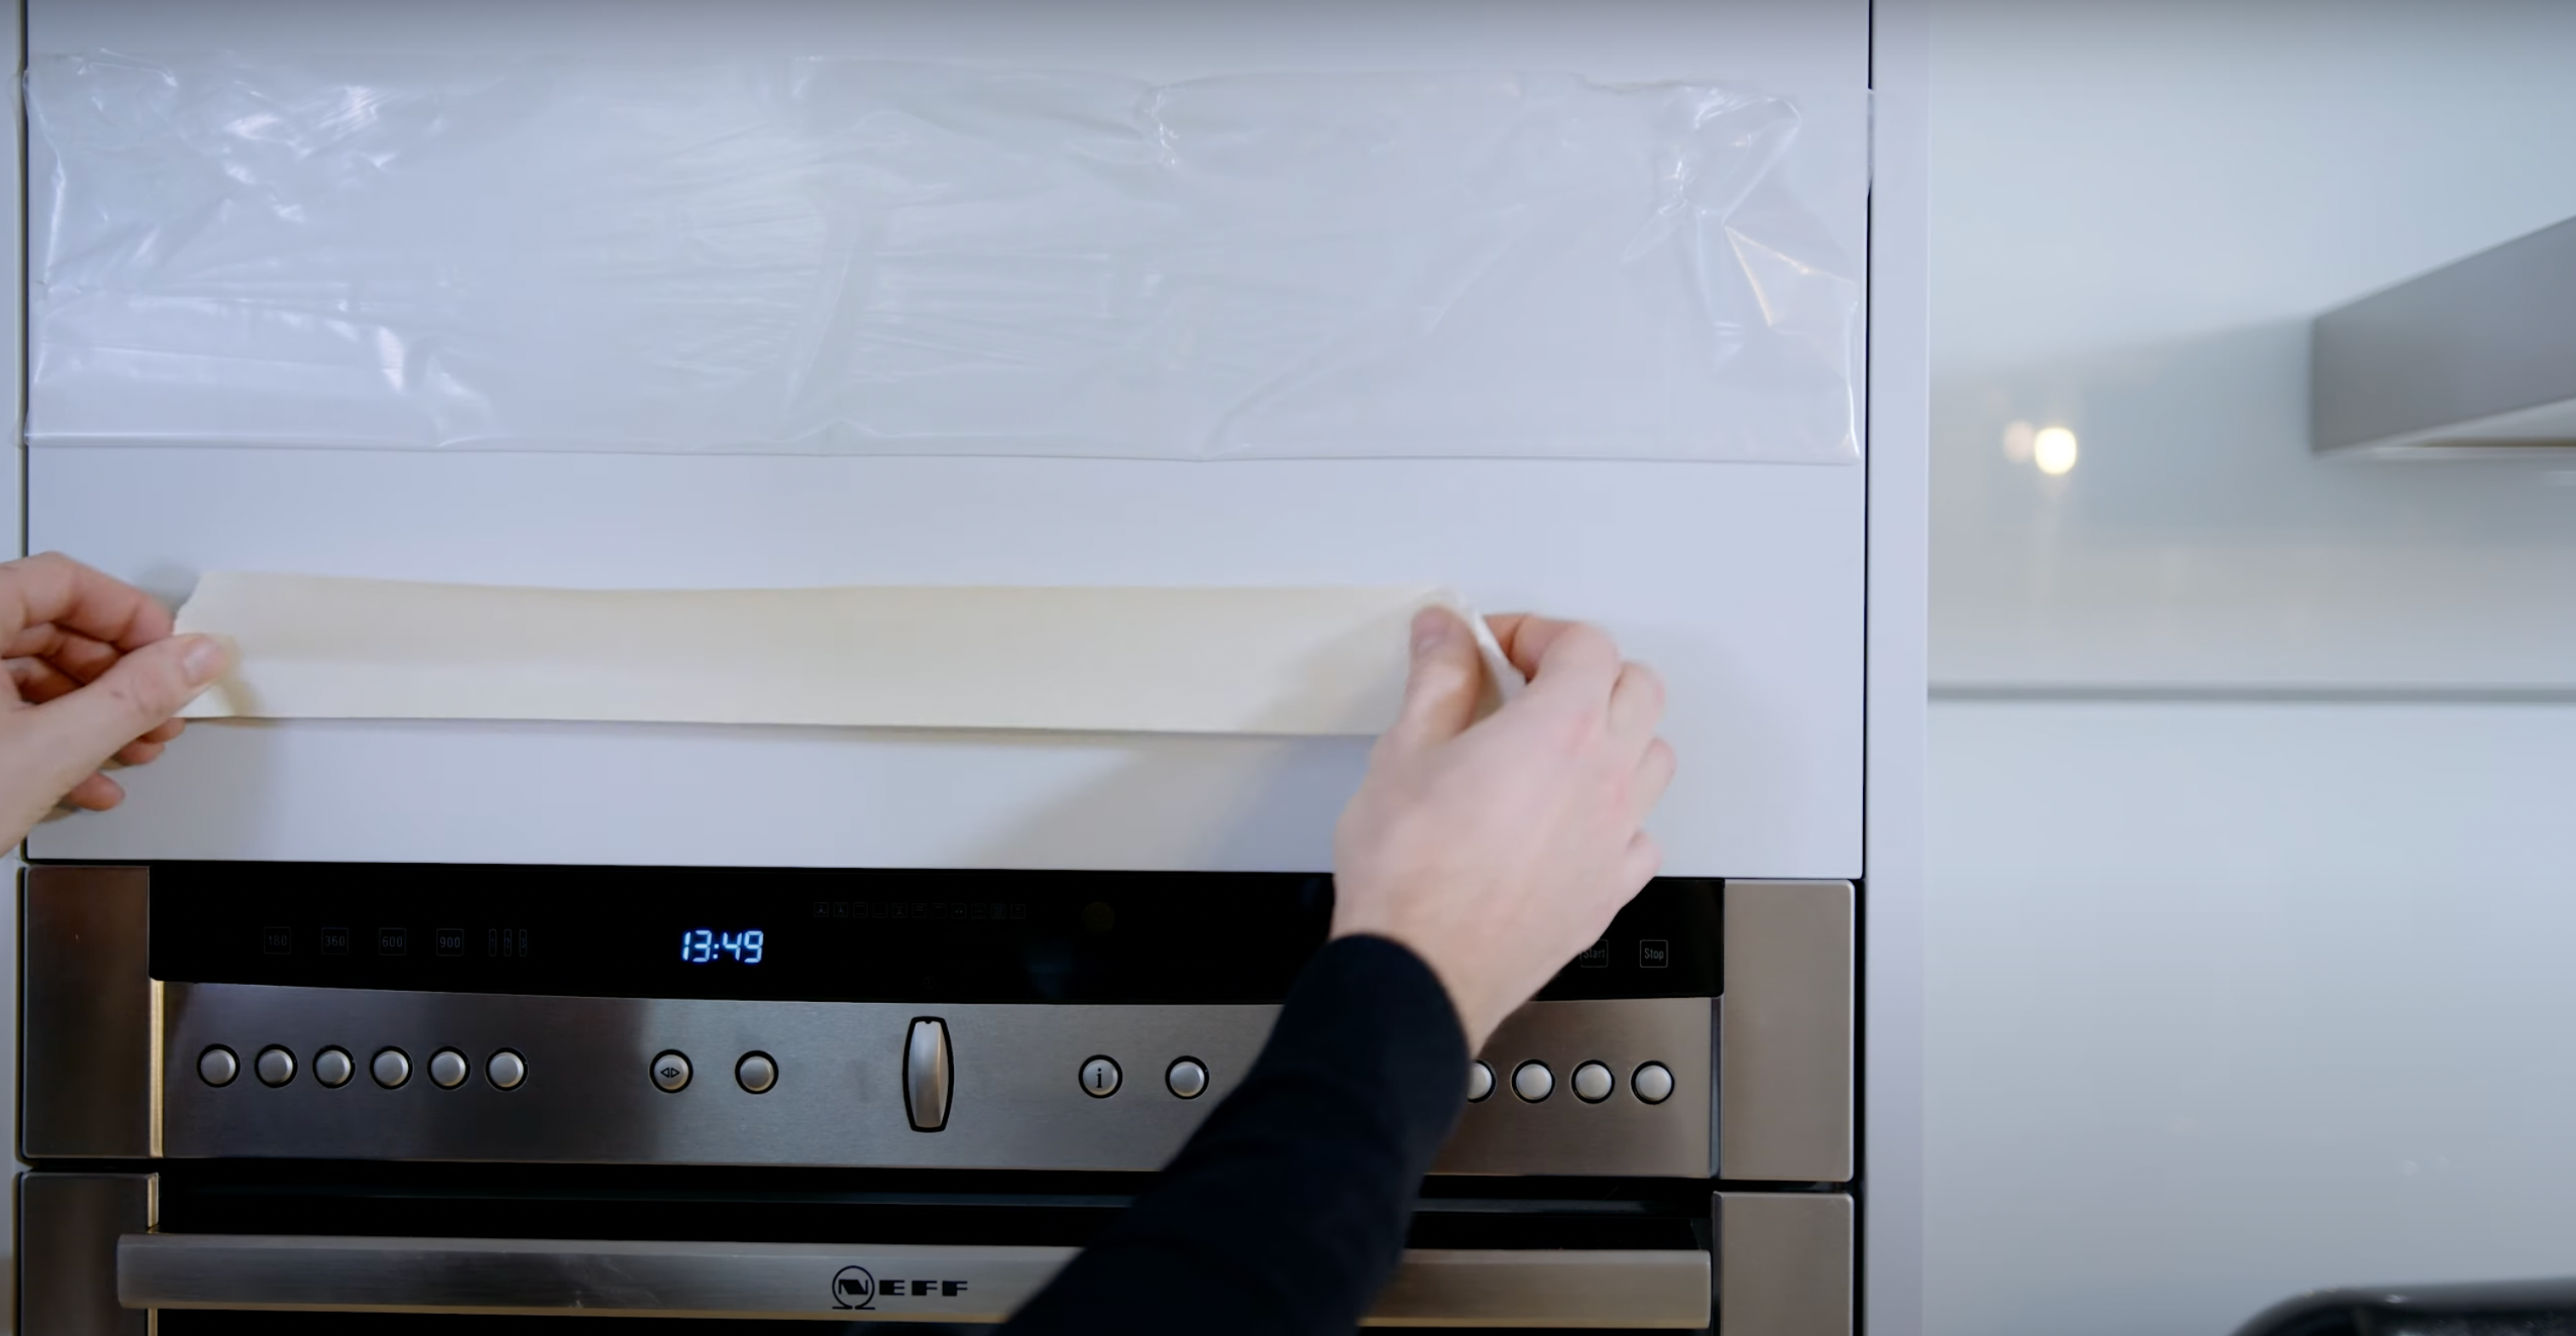
Once the masking tape has been applied, you can mark the position of your first hole with the adjustable square and draw a line directly up from this marking where the handle will go.
Place the handle up to the first marked hole and mark off the point of the second hole.
Once marked, measure the distance between the two hole markings to make sure it matches the the length of the handle.
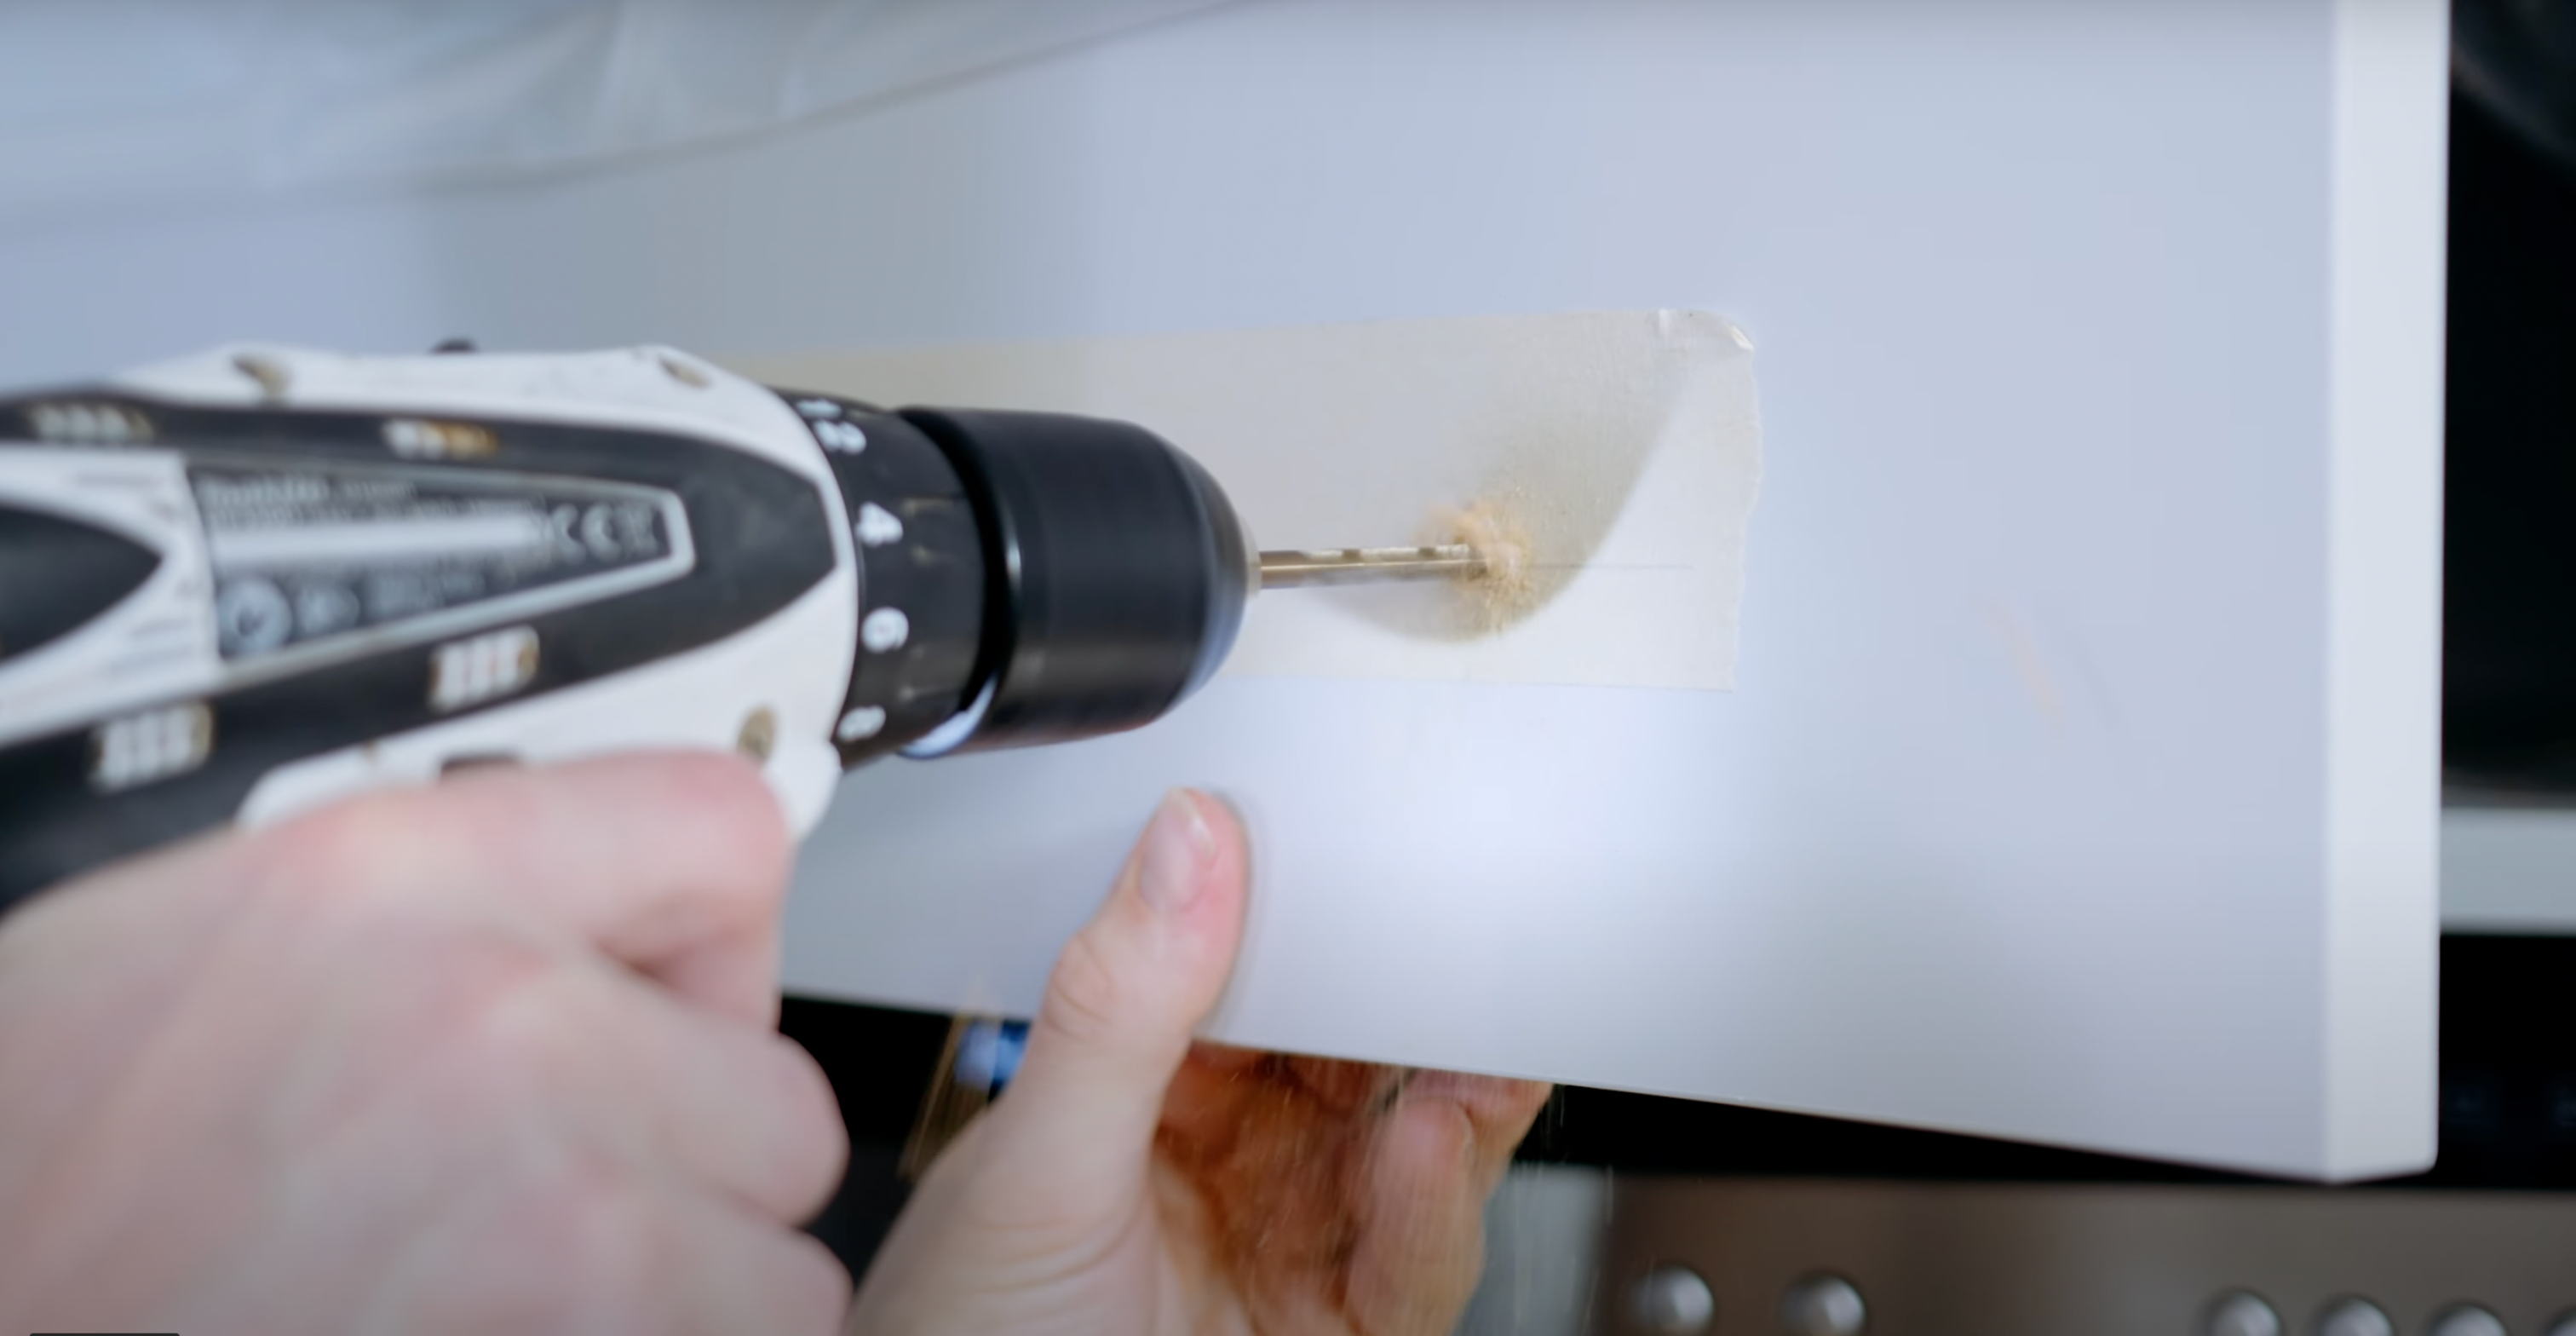
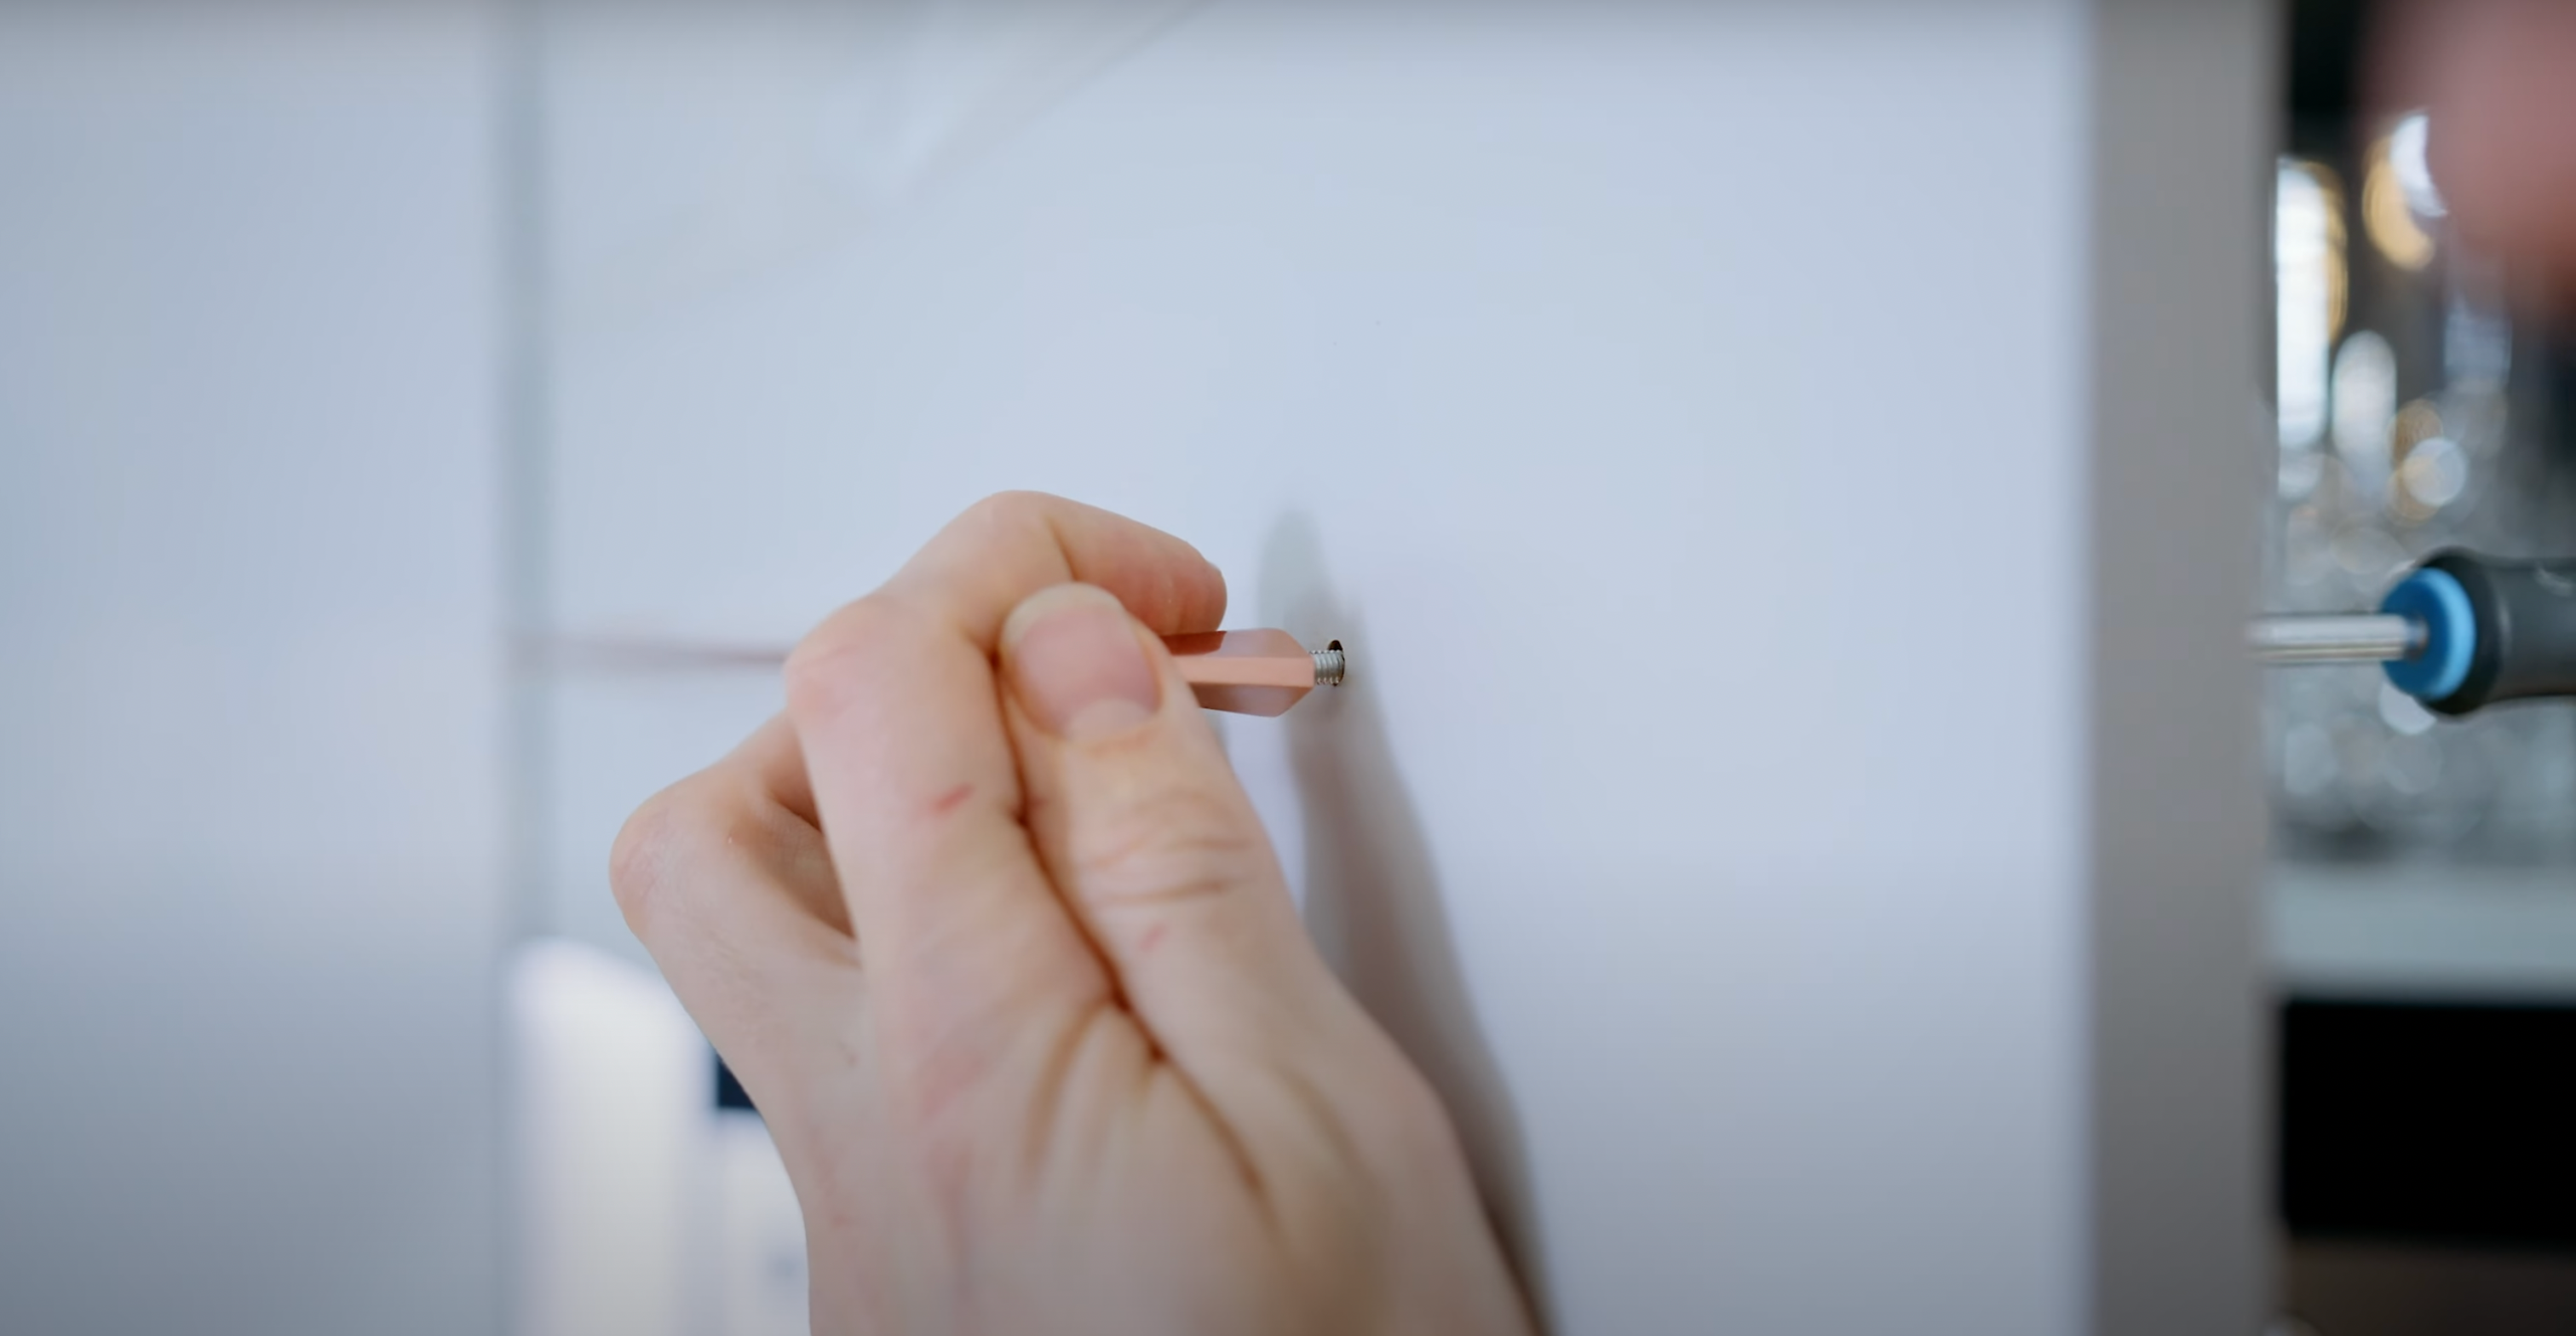
Once the markings have been made and match the handle length, you can go ahead and drill the first hole through the door and repeat this for the second hole.
Once drilled, remove the masking tape, place the screw through the back of the door in the drilled holes and screw the handle into place. Repeat the process for all doors and drawers and now you have new kitchen cabinet handles!
We have a helpful video that goes through the above steps with you as you install.
_hrrnh.jpg?w=480&h=290&fit=crop&crop=edges,focalpoint&q=75&auto=format&fm=png)
